- Products
- Air Compressors & Air Tools
- Climate Control
- Compaction Equipment
- Concrete Cutting Tools & Equipment
- Concrete and Masonry
- Demolition & Excavation
- Electrical & Mechanical
- Fasteners and Anchoring Adhesives
- Floor Protection
- Generators and Welders
- Hand Tools
- Heaters
- Janitorial and Office Supplies
- Jobsite Protection
- Ladders & Storage
- Lighting & Lighting Accessories
- Man Lifts
- Material Handling Equipment
- Power Tools
- Pressure Washers & Pumps
- Safety Gear
- Safety Products
- Saws
- Surface Preparation
- SEASONAL PRODUCTS
- Rentals
- Air Compressor and Air Tool Rentals
- Climate Control Rental
- Compaction Rentals
- Concrete Equipment Rentals
- Demolition & Excavation Equipment Rentals
- Concrete Floor Grinder Rentals
- General Construction Equipment Rentals
- Generator Rentals and Welder Rentals
- Heater Rentals
- Light Tower Rentals
- Man Lift Rentals in Massachusetts and Rhode Island
- Material Handling Equipment Rentals
- Pressure Washer & Pump Rentals
- Saw Rentals in New England
- SEASONAL PRODUCTS
- Products
- Air Compressors & Air Tools
- Climate Control
- Compaction Equipment
- Concrete Cutting Tools & Equipment
- Demolition & Excavation
- Electrical & Mechanical
- Floor Protection
- Generators and Welders
- Construction Heaters
- Construction Ladders, Staging, & Storage
- Construction Lighting
- Man Lifts
- Material Handling Equipment
- Industrial Janitorial and Office Supplies
- Pressure Washers & Pumps
- Construction Safety Products
- Construction Safety Gear
- Surface Preparation
- Building Protection
- Diesel Accessories
- Zero Emissions
- Rentals
- Air Compressor and Air Tool Rentals
- Climate Control Rental
- Compaction Rentals
- Concrete Equipment Rental
- Demolition & Excavation Equipment Rental
- General Construction Equipment Rental
- Generator Rentals and Welder Rentals
- Construction Heaters Rental
- Light Tower Rentals
- Man Lift Rentals
- Material Handling Equipment Rental
- Pressure Washer & Pump Rentals
- Saw Rentals in New England
- Concrete Floor Grinder Rentals
- Zero Emissions Rentals
- Repairs & Used
- Parts
- Blog
- Services
- Resources
- About Us
- Contact Us
Sales & Rental of Construction | Industrial Equipment & Supplies

10 Tips to Choose the Best Coding Switch for Global Buyers
Choosing the right Coding Switch can influence product reliability, assembly speed, and long-term maintenance. For global buyers, the decision involves more than comparing unit prices. A switch may appear suitable in a supplier photograph, yet feel loose during testing or fail under repeated operation. Small details matter. Contact material, terminal design, switching force, operating life, and mounting method should match the final device. Buyers must also confirm whether “Coding Switch” means a rotary coding switch, DIP switch, or another configuration component. The terminology is not always consistent across markets.
This guide presents ten practical tips for evaluating suppliers and products with greater confidence. It considers electrical ratings, mechanical performance, environmental conditions, sample testing, documentation, and production support. During sourcing, request datasheets, dimensional drawings, test reports, and clear product photographs. Check the exact model number. Do not rely on a similar-looking replacement. A sample can reveal problems that specifications hide, including difficult adjustment, fragile terminals, or unclear position markings. It is wise to test samples in the actual circuit and enclosure. No checklist is perfect. Real applications behave differently from laboratory examples. A supplier with traceable quality procedures, responsive technical staff, and consistent batch records usually offers stronger purchasing support. Buyers should also review packaging, lead times, warranty terms, and compliance documents for their destination market. The cheapest option may create higher costs later. Careful comparison reduces that risk, although unexpected issues can still appear. That is normal. A reliable decision combines verified data, hands-on evaluation, and honest communication with the manufacturer.
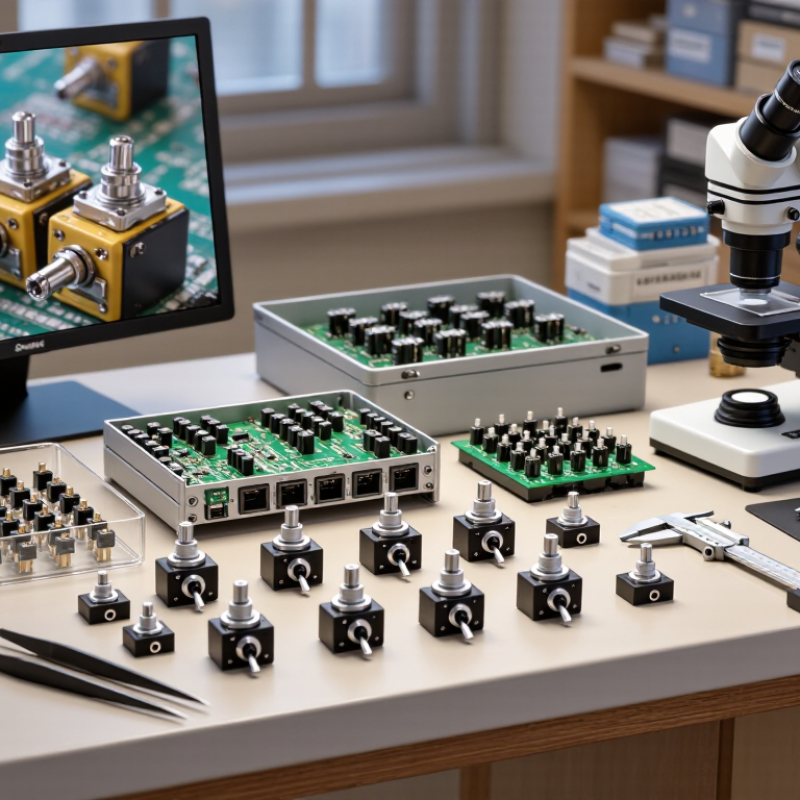
Table of Contents [Hide]
Define Coding Switch Types and Their Main Applications
Coding switches translate an operator’s choice into a machine command. Common types include rotary switches, DIP switches, push-button selectors, and membrane keypads. Rotary switches suit fixed code positions, such as day, month, or batch number. DIP switches work well inside compact controllers, where settings rarely change. Push-button selectors support frequent adjustments on carton, bottle, and pouch lines. Keypads or touchscreen panels fit systems requiring longer messages and recipe control.
The application should decide the switch type. Continuous inkjet and thermal-transfer printers often need quick access to date and lot settings. Laser systems usually connect with digital controllers, where sealed keypads reduce dust-related failures. MarketsandMarkets valued the coding and marking equipment market at about USD 7.5 billion in 2024, with continued growth expected through 2029. That expansion reflects more traceability and automated packaging, not merely higher printer sales. PMMI’s 2024 State of the Industry findings also highlight labor shortages and stronger equipment integration as packaging priorities. Simple is powerful. In production audits, operators often prefer a tactile rotary switch over a complex screen when changing one code. Yet that preference is not universal. A dusty food line may need IP-rated controls, while a clean pharmaceutical room may prioritize smooth, easy-to-sanitize surfaces. Check switch life, contact rating, panel cutout size, and replacement availability before purchase. A low-cost selector can become expensive when its markings fade or its contacts fail.
© Copyright - Pro Tool & Supply - Site by SVM E-Marketing Solutions - Sitemap
- Privacy policy