- Products
- Air Compressors & Air Tools
- Climate Control
- Compaction Equipment
- Concrete Cutting Tools & Equipment
- Concrete and Masonry
- Demolition & Excavation
- Electrical & Mechanical
- Fasteners and Anchoring Adhesives
- Floor Protection
- Generators and Welders
- Hand Tools
- Heaters
- Janitorial and Office Supplies
- Jobsite Protection
- Ladders & Storage
- Lighting & Lighting Accessories
- Man Lifts
- Material Handling Equipment
- Power Tools
- Pressure Washers & Pumps
- Safety Gear
- Safety Products
- Saws
- Surface Preparation
- SEASONAL PRODUCTS
- Rentals
- Air Compressor and Air Tool Rentals
- Climate Control Rental
- Compaction Rentals
- Concrete Equipment Rentals
- Demolition & Excavation Equipment Rentals
- Concrete Floor Grinder Rentals
- General Construction Equipment Rentals
- Generator Rentals and Welder Rentals
- Heater Rentals
- Light Tower Rentals
- Man Lift Rentals in Massachusetts and Rhode Island
- Material Handling Equipment Rentals
- Pressure Washer & Pump Rentals
- Saw Rentals in New England
- SEASONAL PRODUCTS
- Products
- Air Compressors & Air Tools
- Climate Control
- Compaction Equipment
- Concrete Cutting Tools & Equipment
- Demolition & Excavation
- Electrical & Mechanical
- Floor Protection
- Generators and Welders
- Construction Heaters
- Construction Ladders, Staging, & Storage
- Construction Lighting
- Man Lifts
- Material Handling Equipment
- Industrial Janitorial and Office Supplies
- Pressure Washers & Pumps
- Construction Safety Products
- Construction Safety Gear
- Surface Preparation
- Building Protection
- Diesel Accessories
- Zero Emissions
- Rentals
- Air Compressor and Air Tool Rentals
- Climate Control Rental
- Compaction Rentals
- Concrete Equipment Rental
- Demolition & Excavation Equipment Rental
- General Construction Equipment Rental
- Generator Rentals and Welder Rentals
- Construction Heaters Rental
- Light Tower Rentals
- Man Lift Rentals
- Material Handling Equipment Rental
- Pressure Washer & Pump Rentals
- Saw Rentals in New England
- Concrete Floor Grinder Rentals
- Zero Emissions Rentals
- Repairs & Used
- Parts
- Blog
- Services
- Resources
- About Us
- Contact Us
Sales & Rental of Construction | Industrial Equipment & Supplies

7 Plastic Blind Drain Buying Tips for Global Buyers
Drainage decisions are easy to underestimate until water pools beside a loading bay or seeps behind a retaining wall. The World Meteorological Organization’s Atlas of Mortality and Economic Losses from Weather, Climate and Water Extremes reports 11,072 disasters between 1970 and 2019; floods accounted for 44 percent. That figure does not predict risk at any one site. It does show why dependable water management deserves careful attention.
Urban growth adds pressure. UN DESA’s World Urbanization Prospects: The 2018 Revision projects that 68 percent of the global population will live in urban areas by 2050. For buyers, that makes drainage choices relevant to roads, landscaped areas, foundations, and other built environments. A Plastic blind drain can provide a lightweight drainage option, but product names alone tell little. Wall structure, flow capacity, filter compatibility, and resistance to site loads all matter.
Details matter. A lot.
Global sourcing adds another layer: dimensions, material specifications, test methods, and installation guidance should be clear before an order is placed. Ask for technical data sheets and evidence supporting stated performance. Then check whether the product suits the soil, expected water flow, and surrounding aggregate—not just the quoted price. A neat catalog photo cannot confirm those conditions. And even a well-made drain may underperform if installation or outlet design is overlooked. That point is easy to miss. The seven buying tips ahead help purchasers compare suppliers with better questions, while recognizing that project-specific engineering review may still be needed.
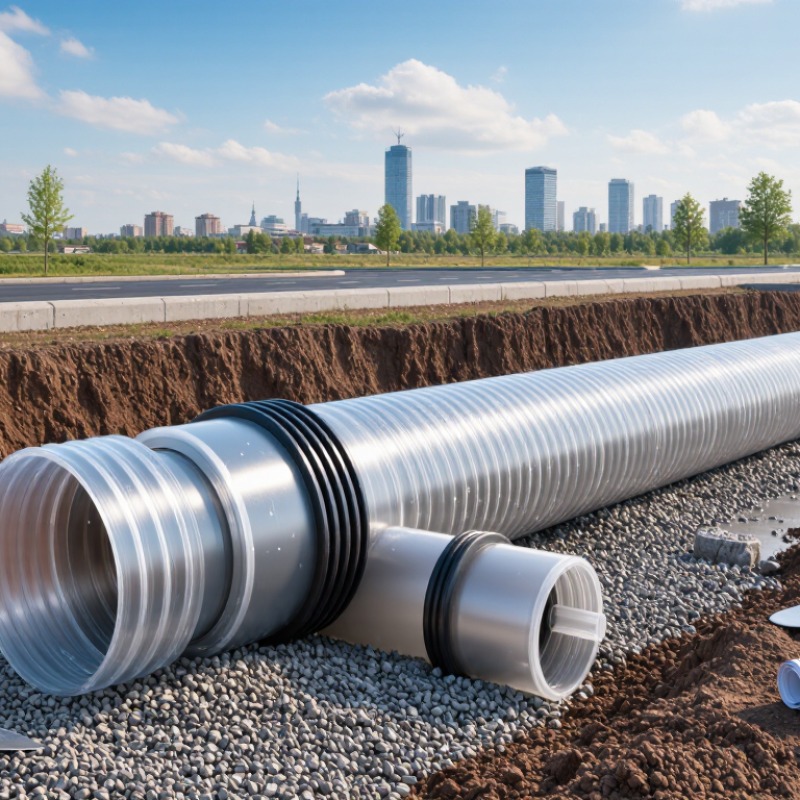
Table of Contents [Hide]
What Is a Plastic Blind Drain and Where Is It Used?
A plastic blind drain is a buried system that collects and carries groundwater away from vulnerable areas. Common designs place perforated plastic pipe in washed stone, with geotextile filtering soil around the aggregate. Water passes through the soil and stone, enters the pipe, then flows toward an outlet. The filter helps limit soil migration and clogging. Terminology varies between markets: some suppliers mean only the pipe, while others mean the complete trench system. That distinction matters.
Blind drains are commonly installed behind retaining walls, beneath road shoulders and sports fields, around foundations, and in waterlogged landscape beds. They help manage seepage, but cannot correct poor surface grading or a blocked discharge point.
The United Nations’ World Urbanization Prospects: The 2018 Revision projected that 68% of the world’s population would live in urban areas by 2050.
This is not a product-demand forecast, but it highlights growing pressure on urban drainage. For design context, the Federal Highway Administration’s Geosynthetic Design and Construction Guidelines treats drainage and filtration as linked functions. Check soil conditions, expected water flow, pipe stiffness, and outlet access. Even sound plastic can fail if the filter clogs or the pipe lacks adequate fall.
© Copyright - Pro Tool & Supply - Site by SVM E-Marketing Solutions - Sitemap
- Privacy policy