- Products
- Air Compressors & Air Tools
- Climate Control
- Compaction Equipment
- Concrete Cutting Tools & Equipment
- Concrete and Masonry
- Demolition & Excavation
- Electrical & Mechanical
- Fasteners and Anchoring Adhesives
- Floor Protection
- Generators and Welders
- Hand Tools
- Heaters
- Janitorial and Office Supplies
- Jobsite Protection
- Ladders & Storage
- Lighting & Lighting Accessories
- Man Lifts
- Material Handling Equipment
- Power Tools
- Pressure Washers & Pumps
- Safety Gear
- Safety Products
- Saws
- Surface Preparation
- SEASONAL PRODUCTS
- Rentals
- Air Compressor and Air Tool Rentals
- Climate Control Rental
- Compaction Rentals
- Concrete Equipment Rentals
- Demolition & Excavation Equipment Rentals
- Concrete Floor Grinder Rentals
- General Construction Equipment Rentals
- Generator Rentals and Welder Rentals
- Heater Rentals
- Light Tower Rentals
- Man Lift Rentals in Massachusetts and Rhode Island
- Material Handling Equipment Rentals
- Pressure Washer & Pump Rentals
- Saw Rentals in New England
- SEASONAL PRODUCTS
- Products
- Air Compressors & Air Tools
- Climate Control
- Compaction Equipment
- Concrete Cutting Tools & Equipment
- Demolition & Excavation
- Electrical & Mechanical
- Floor Protection
- Generators and Welders
- Construction Heaters
- Construction Ladders, Staging, & Storage
- Construction Lighting
- Man Lifts
- Material Handling Equipment
- Industrial Janitorial and Office Supplies
- Pressure Washers & Pumps
- Construction Safety Products
- Construction Safety Gear
- Surface Preparation
- Building Protection
- Diesel Accessories
- Zero Emissions
- Rentals
- Air Compressor and Air Tool Rentals
- Climate Control Rental
- Compaction Rentals
- Concrete Equipment Rental
- Demolition & Excavation Equipment Rental
- General Construction Equipment Rental
- Generator Rentals and Welder Rentals
- Construction Heaters Rental
- Light Tower Rentals
- Man Lift Rentals
- Material Handling Equipment Rental
- Pressure Washer & Pump Rentals
- Saw Rentals in New England
- Concrete Floor Grinder Rentals
- Zero Emissions Rentals
- Repairs & Used
- Parts
- Blog
- Services
- Resources
- About Us
- Contact Us
Sales & Rental of Construction | Industrial Equipment & Supplies


7 Spray Gun Tips for a Perfect Finish?
A flawless finish rarely comes from expensive paint alone. It begins with preparation, controlled movement, and a well-adjusted Spray Gun. The difference appears in small details: a clean nozzle, a steady wrist, correct air pressure, and the right distance from the surface. When these elements work together, the coating lands like a fine, even mist instead of creating runs, dry patches, or heavy edges.
Automotive refinishing expert Kevin Tetz often emphasizes this practical truth: “Preparation makes the paintwork.” His point applies to every spray project. A painter may own advanced equipment, yet still produce an uneven finish after skipping surface cleaning or testing the spray pattern. That mistake is easy to make. It is also expensive to correct.
This guide, “7 Spray Gun Tips for a Perfect Finish,” focuses on techniques that can be tested immediately. You will learn how to choose a suitable tip, adjust pressure, maintain a consistent angle, and overlap each pass correctly. You will also see why temperature, paint viscosity, and lighting can change the final result. Watch the surface closely. Listen to the gun. Small changes matter.
Perfection is not guaranteed.
Even experienced painters sometimes move too quickly or trust settings without testing them. A scrap panel can reveal problems before the real surface does. Use it. Check the fan pattern under strong light, keep the gun moving before pulling the trigger, and clean the equipment after every session. These habits may feel slow, but they protect both the finish and the material. The goal is not simply a glossy surface. It is a repeatable process you can understand, inspect, and improve.
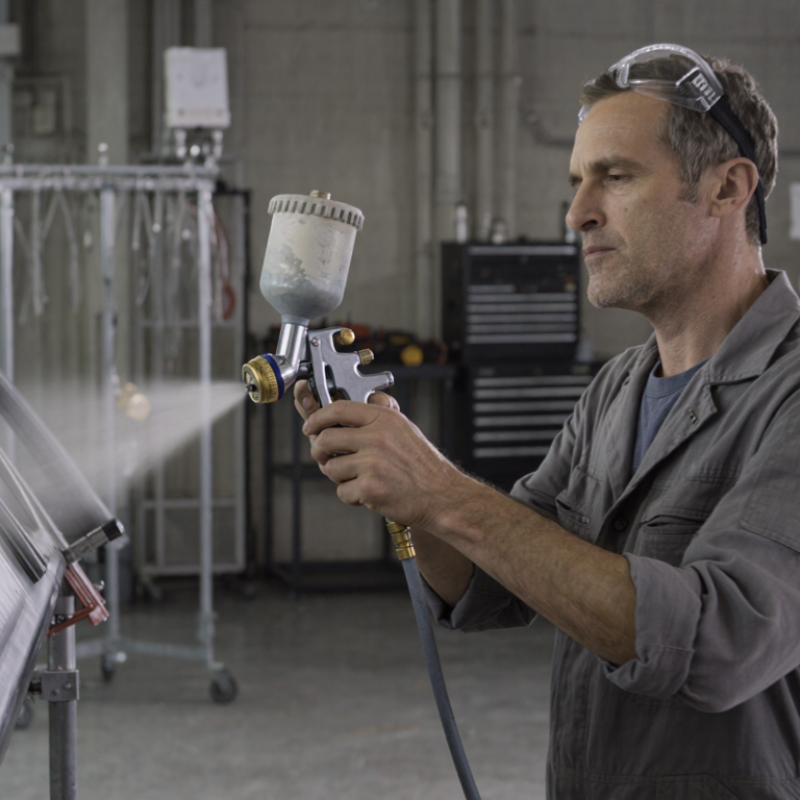
Table of Contents [Hide]
Choosing the Right Spray Gun and Materials
A perfect finish begins with the spray gun, not the paint. Choose the gun by material viscosity, surface size, and required transfer efficiency. A gravity-feed gun suits controlled workshop work, while a pressure-feed system handles thicker coatings and larger panels. For most fine finishes, a 1.3–1.4 mm nozzle offers useful control. Thicker primers may need 1.7–2.0 mm. Always check the coating’s technical data sheet first. Guessing costs more than measuring.
Air volume matters as much as pressure. Match the gun’s air consumption with the compressor’s delivered airflow, not its advertised tank size. The International Organization for Standardization reports that standardized viscosity testing improves coating consistency across applications (ISO 2431). Clean, dry air is essential. The U.S. Environmental Protection Agency identifies solvent use and surface coating as significant volatile organic compound sources in its National Emissions Inventory. Use approved ventilation and suitable respiratory protection. Safety is part of finish quality.
Hold the gun 15–20 centimeters from the panel. Keep it square. Move your whole arm, not just your wrist. Overlap each pass by about 50 percent, then inspect under angled light. A smaller nozzle can reduce runs, but it may produce dry spray when airflow is weak. I still make that mistake occasionally. Test on scrap material first. Record nozzle size, pressure, reduction ratio, and temperature; repeatability improves when memory is removed from the process.

© Copyright - Pro Tool & Supply - Site by SVM E-Marketing Solutions - Sitemap
- Privacy policy