- Products
- Air Compressors & Air Tools
- Climate Control
- Compaction Equipment
- Concrete Cutting Tools & Equipment
- Concrete and Masonry
- Demolition & Excavation
- Electrical & Mechanical
- Fasteners and Anchoring Adhesives
- Floor Protection
- Generators and Welders
- Hand Tools
- Heaters
- Janitorial and Office Supplies
- Jobsite Protection
- Ladders & Storage
- Lighting & Lighting Accessories
- Man Lifts
- Material Handling Equipment
- Power Tools
- Pressure Washers & Pumps
- Safety Gear
- Safety Products
- Saws
- Surface Preparation
- SEASONAL PRODUCTS
- Rentals
- Air Compressor and Air Tool Rentals
- Climate Control Rental
- Compaction Rentals
- Concrete Equipment Rentals
- Demolition & Excavation Equipment Rentals
- Concrete Floor Grinder Rentals
- General Construction Equipment Rentals
- Generator Rentals and Welder Rentals
- Heater Rentals
- Light Tower Rentals
- Man Lift Rentals in Massachusetts and Rhode Island
- Material Handling Equipment Rentals
- Pressure Washer & Pump Rentals
- Saw Rentals in New England
- SEASONAL PRODUCTS
- Products
- Air Compressors & Air Tools
- Climate Control
- Compaction Equipment
- Concrete Cutting Tools & Equipment
- Demolition & Excavation
- Electrical & Mechanical
- Floor Protection
- Generators and Welders
- Construction Heaters
- Construction Ladders, Staging, & Storage
- Construction Lighting
- Man Lifts
- Material Handling Equipment
- Industrial Janitorial and Office Supplies
- Pressure Washers & Pumps
- Construction Safety Products
- Construction Safety Gear
- Surface Preparation
- Building Protection
- Diesel Accessories
- Zero Emissions
- Rentals
- Air Compressor and Air Tool Rentals
- Climate Control Rental
- Compaction Rentals
- Concrete Equipment Rental
- Demolition & Excavation Equipment Rental
- General Construction Equipment Rental
- Generator Rentals and Welder Rentals
- Construction Heaters Rental
- Light Tower Rentals
- Man Lift Rentals
- Material Handling Equipment Rental
- Pressure Washer & Pump Rentals
- Saw Rentals in New England
- Concrete Floor Grinder Rentals
- Zero Emissions Rentals
- Repairs & Used
- Parts
- Blog
- Services
- Resources
- About Us
- Contact Us
Sales & Rental of Construction | Industrial Equipment & Supplies


2026 Best Flexible Packaging Slitting Blades How to Choose?
Choosing the right flexible packaging slitting blades in 2026 is not simply a matter of selecting the hardest steel. Film structure, coating thickness, machine speed, tension control, and winding quality all influence the final cut. A blade that performs well on thin polyethylene may create edge dust on laminated foil. It may also damage a delicate barrier layer. Small differences become visible under production lighting.
According to converting specialist Dr. Charles A. Wickham, “A blade proves its value through the consistency of the cut, not its appearance in the catalog.” This practical view matters on the factory floor. Operators notice burrs, web wandering, uneven roll edges, and frequent blade changes before purchasing teams do. The best flexible packaging slitting blades should match the material, holder system, cutting method, and actual production conditions. That sounds obvious. It is often missed.
This guide examines blade materials, edge geometry, hardness, coating options, and service life. It also considers dust generation, heat, setup accuracy, and maintenance records. Experience suggests that the most expensive blade is not always the most economical choice. A cheaper blade can become costly when it causes rejects or repeated stoppages. Still, blade selection is not perfectly predictable. Film formulations change, machines age, and operator habits differ. Therefore, testing should include real production rolls, not only laboratory samples. A careful trial may reveal an uncomfortable truth: the problem is sometimes tension control, not the blade.
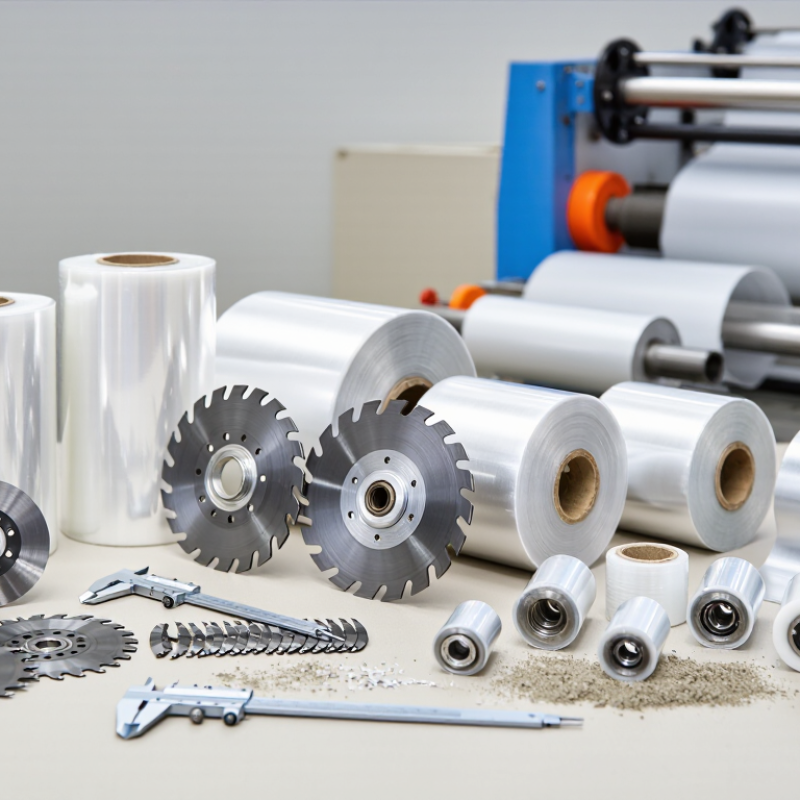
Table of Contents [Hide]
Flexible Packaging Slitting Blades: Purpose, Structure, and Applications
Flexible Packaging Slitting Blades: Purpose, Structure, and Applications
Flexible packaging slitting blades divide films, laminates, pouches, and coated webs into accurate widths. A clean cut reduces edge fuzz, film stretching, dust, and sealing problems. Small defects matter. During converting trials, operators often inspect the slit edge under bright, angled light. This reveals roughness that normal overhead lighting can hide.
Blade structure affects cutting stability. Common designs include razor, shear, and score-cut systems. Razor blades use a thin, sharp edge for films and lightweight laminates. Shear knives cut with two overlapping circular edges, supporting cleaner results at higher line speeds. Score-cut blades press material against a counter surface. They can suit thicker or less delicate webs. Steel hardness, edge angle, thickness, and surface treatment also influence service life.
Application conditions should guide selection. Consider film thickness, laminate layers, adhesive behavior, tension, speed, and required slit width. A blade that works well on polyethylene may perform poorly on metallized laminate. Operators should check burrs, curl, heat marks, and adhesive buildup after several production runs. Test cuts are essential. They may expose an overlooked issue, such as excessive pressure or poor blade alignment. In practice, the “best” blade is rarely universal. It is the blade matched carefully to the material, machine, and production target.

© Copyright - Pro Tool & Supply - Site by SVM E-Marketing Solutions - Sitemap
- Privacy policy